
Chrome Settings
To be able to use Chrome as the browser for the eG manager, the following pre-requisites should be fulfilled:
- The security settings should be set to Medium or Medium-High.
- Configure the browser to use TLS and not SSL.
Each of these requirements have been detailed in the sub-sections that follow.
Changing Security Settings
To make these changes, follow the steps below:
-
Click on the
 icon in the Chrome tool bar, and select Settings from the menu that pops up (see Figure 1).
Figure 1 : Selecting the Settings option from the Chrome menu
-
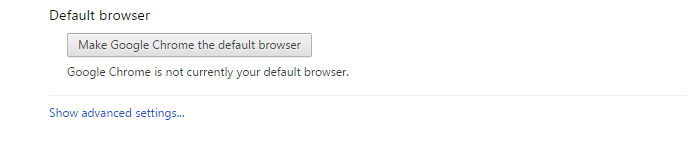
Scroll down the Settings page that then appears until you find the Show advanced settings link (see Figure 2). Then, click on the link.
-
This will display more settings in the Settings page. Scroll down further until you reach the Network section. Click the Change proxy settings button in that section.

Figure 3 : Clicking the Change proxy settings button
-
When the Internet Properties dialog appears, select the Security tab page therein. Next, pick Internet from the Select a zone… section (see Figure 4).

- Use the slider in the Security level for this zone section to set the security level at Medium or Medium-high.
-
Then, pick the Local intranet zone and set Medium or Medium-high as its security level (see Figure 5).

Figure 5 : Changing the security level of the Local intranet zone
-
Then, select the Trusted sites zone and set Medium or Medium-high as its security level (see Figure 6).
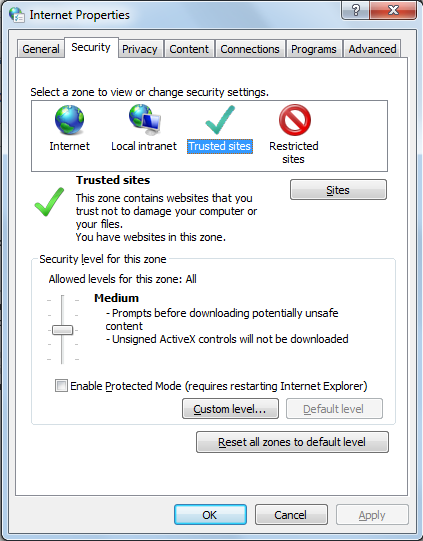
Figure 6 : Changing the security settings of the Trusted sites zone
-
Then, select the Privacy tab page. Use the slider in the Settings section of the tab page to set the privacy level at Medium or Medium-high (see Figure 7).

- Finally, click the Apply and OK buttons in Figure 7 to save the changes.
Configuring the Browser to Use TLS and not SSL
For this, follow the steps below:
- Click on the icon in the Chrome tool bar, and select Settings from the menu that pops up (see Figure 1).
- Scroll down the Settings page that then appears until you find the Show advanced settings link (see Figure 2). Then, click on the link.
- This will display more settings in the Settings page. Scroll down further until you reach the Network section. Click the Change proxy settings button in that section.
-
When the Internet Properties dialog appears, select the Advanced tab page therein. Scroll down the Settings list in the Advanced tab page until you view the Use TLS and Use SSL options.

- Then, deselect the Use SSL 2.0 and Use SSL 3.0 check boxes. Instead, select either the Use TLS 1.1 or the Use TLS 1.2 check box.
- Finally, click the Apply and ok buttons in Figure 8 to save the changes.
