
How does eG Enterprise Monitor GitHub?
eG Enterprise monitors a GitHub user account using an agentless approach. For this purpose, you need to install an eG agent on any remote host in the target environment. To collect metrics related from the target GitHub user account, the eG agent should be authenticated to access the GitHub REST API and run API commands. To enable the eG agent to use the GitHub REST API, you need to:
-
Specify the name of the user who can access the target GitHub account
-
Configure the eG agent with Personal Access Token (PAT)
The steps for generating the PAT are given in the following section.
Configuring the eG Agent with a Personal Access Token (PAT)
To access the GitHub REST API, run API commands on it, and pull metrics, the eG agent has to be configured with a valid PAT. To generate this token, follow the steps below:
-
Go to GitHub console and log in with valid user credentials. If a user is enabled with two-factor authentication, then he/she has to specify the authentication code received in his/her mobile phone.
-
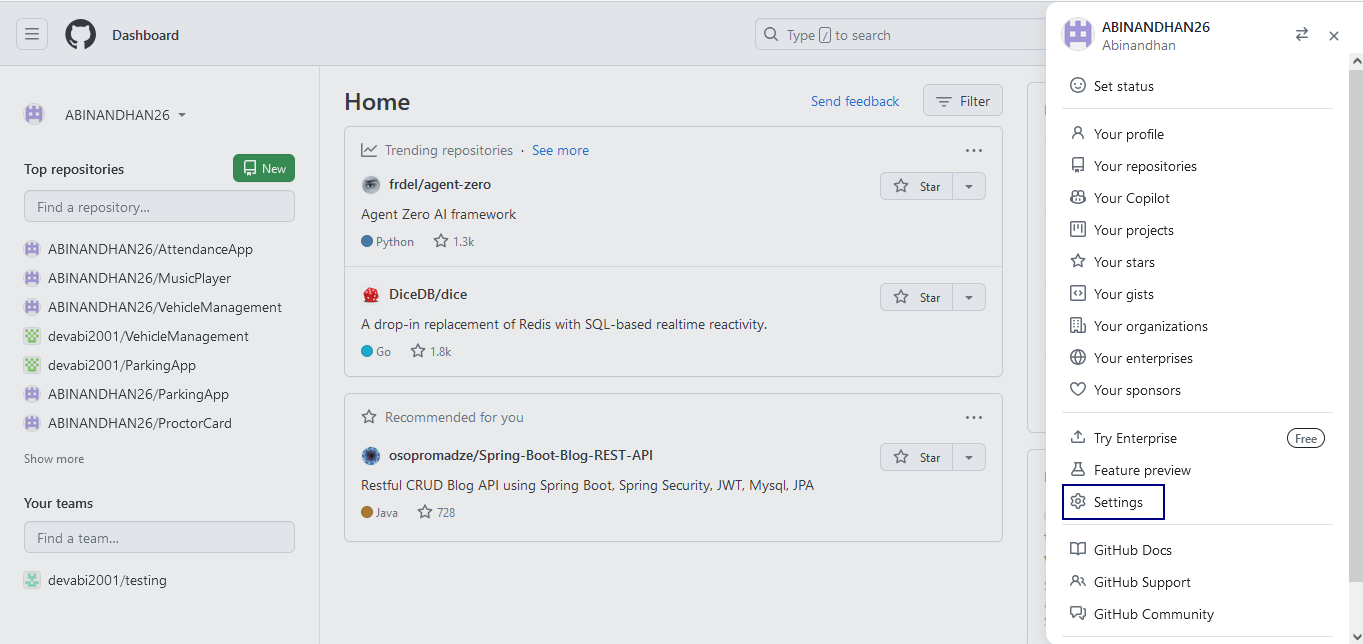
The Dashboard page will then appear. In the upper-right corner of the Dashboard page, click the profile photo. Now, click on the Settings option from the menu that appears (see Figure 1).
-
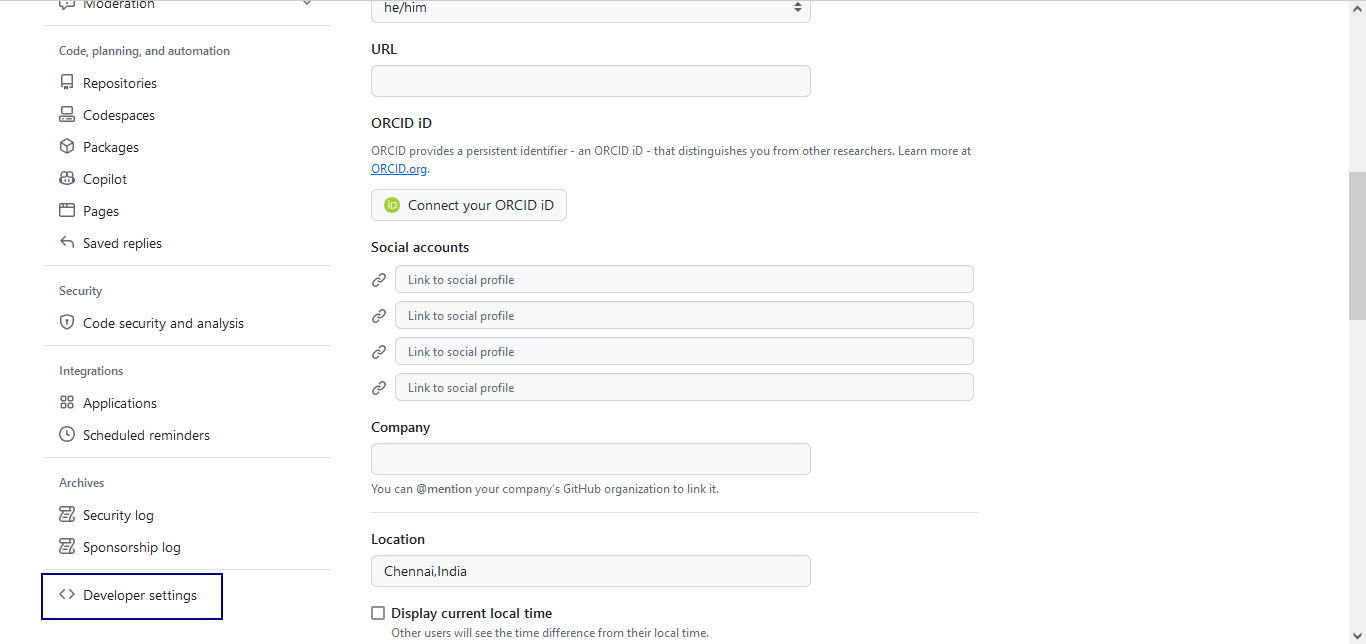
Clicking the Settings option in Figure 1 will show the Public Profile page. Scroll down the left sidebar in the Public Profile page and click on the Developer settings option (see Figure 2).
-
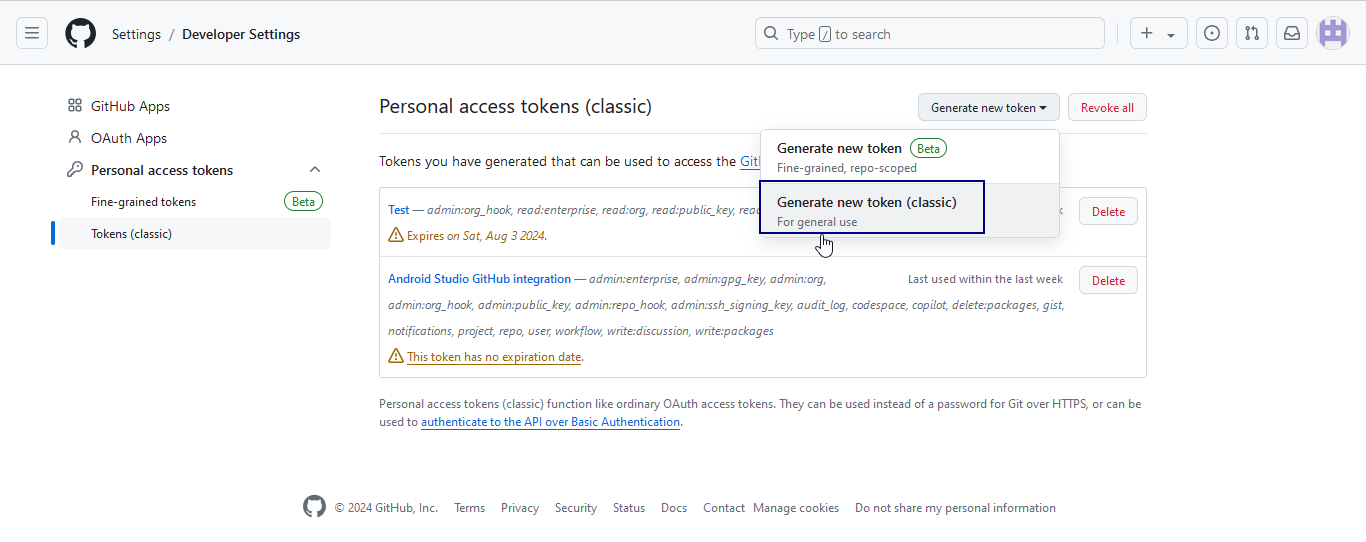
The GitHub Apps page will then appear. In the left side navigation menu, select the Tokens (classic) option under the Personal access tokens drop-down menu as shown in Figure 3.

-
In the Personal access tokens (classic) section that appears in the right panel, select the Generate new token (classic) option from the Generate new token drop-down list in the upper-right corner (see Figure 4).
-
Selecting the Generate new token (classic) option in Figure 4 will display the New personal access token (classic) page (see ).
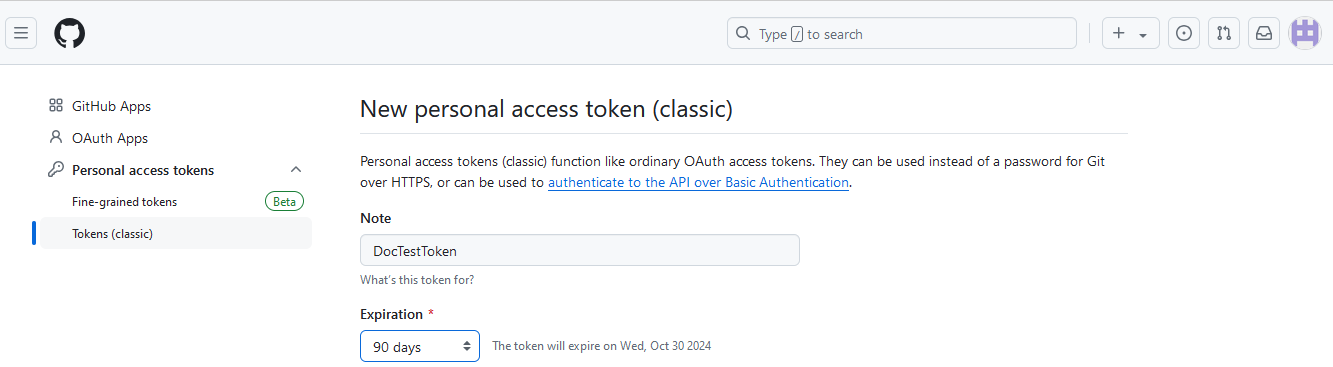
Figure 5 : The New personal access token page
In Figure 5, specify a brief message about the token to be generated in the Note field and also set the number of days till when the token to be generated is valid in the Expiration box.
-
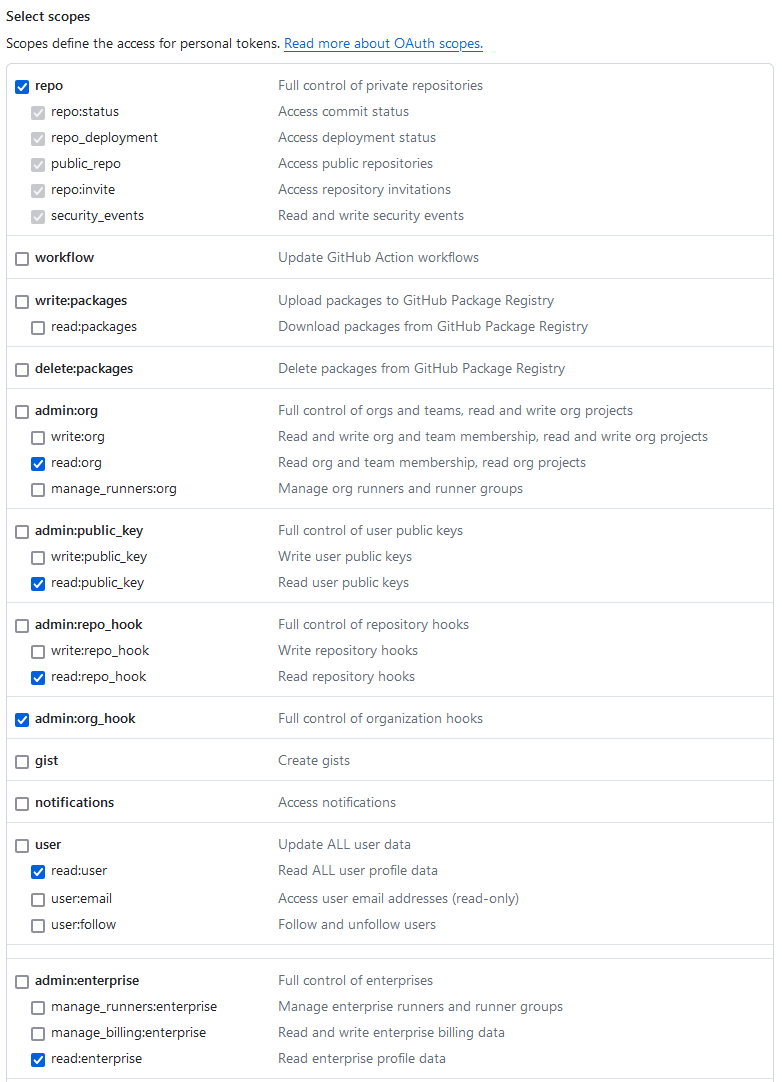
Next, set the scopes (permissions) to the token to be generated based on the requirements for monitoring the target GitHub account in the Select scopes section as shown in Figure 6. These scopes control what the token can do and access.
-
Finally, click on the Generate token button in the bottom of the New personal access token page to generate the token. This will lead you to the Personal access token (classic) page that displays the newly generated token as shown in Figure 7.
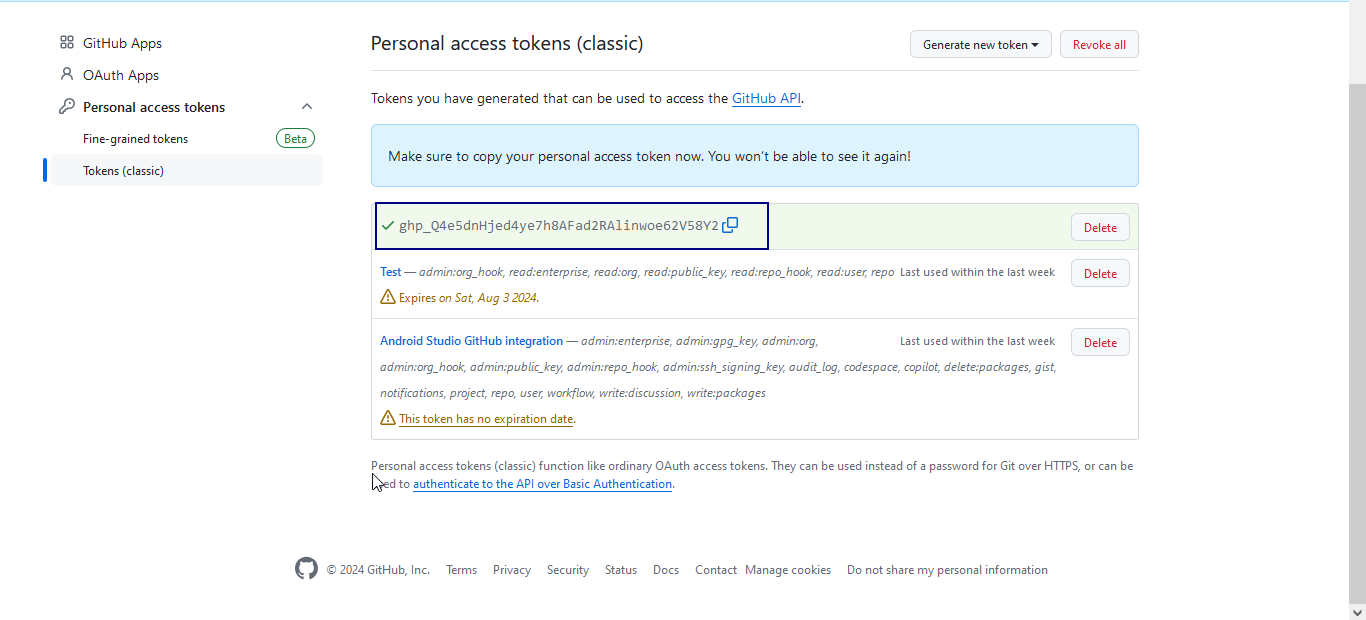
Figure 7 : The newly generated token
Copy the token from Figure 7 and save it securely. To enable the eG agent to use this token and monitor the target GitHub account, specify this token in the API TOKEN field while configuring the tests in the Specific Test Configuration page.
