
Pre-requisites for Monitoring Oracle ZFS Storage System
Before attempting to manage and monitor Oracle ZFS Storage system, make sure that the following pre-requisites are fulfilled:
-
To collect the required metrics from the target Oracle ZFS Storage system, the eG agent should be able to connect to target storage system. If the target storage system is behind a firewall, ensure that the port through which the eG agent communicates with the target storage system is open. The default port is 215.
-
The eG agent executes REST API commands on the target storage system and collects the required metrics. To execute the REST API commands, the eG agent requires the permission of a local administrator user who has been assigned with the following roles:
-
Basic role and
-
a custom role with Analytics authorization and read permission
Ideally, you will have to create a new user role on the Oracle ZFS Storage system for this purpose, associate the above-mentioned authorization and permission with that role, and assign the new role to a new user with local administrator rights.
-
-
In order to collect memory related metrics by executing the Oracle ZFS Memory test on the target Oracle ZFS Storage system, the eG agent requires the credentials of a root user.
Creating a new user on Oracle ZFS Storage System
To create a new user and assigning the roles to the user, follow the steps mentioned below:
-
Login to the Oracle ZFS Storage system console (Browser User Interface or BUI) as a root user. To create a new role, navigate through the menu sequence: Configuration -> Users. In the page that appears (see Figure 1), click the
 button preceding the Roles.
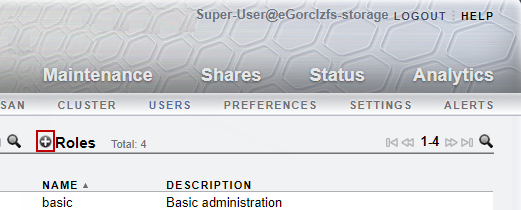
-
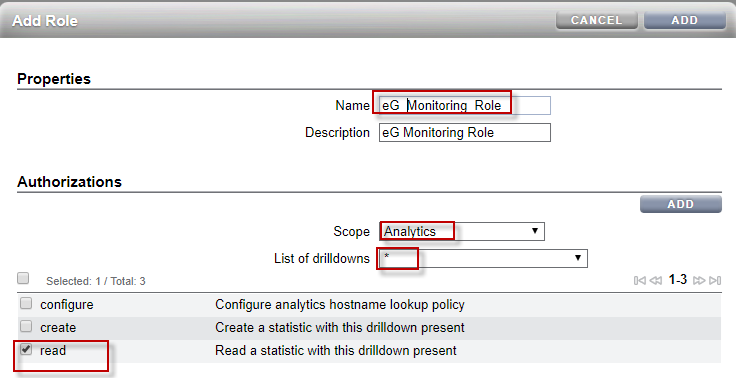
Figure 2 then appears. Specify the Name and Description of the role that you wish to create.
-
Then, under the Authorizations section, select Analytics from the Scope list and * from the List of drilldowns list. Also, check the read check box and click the ADD button in the Authorizations tab (see Figure 2). Your selection will then be listed under the Authorizations section as shown in Figure 3.
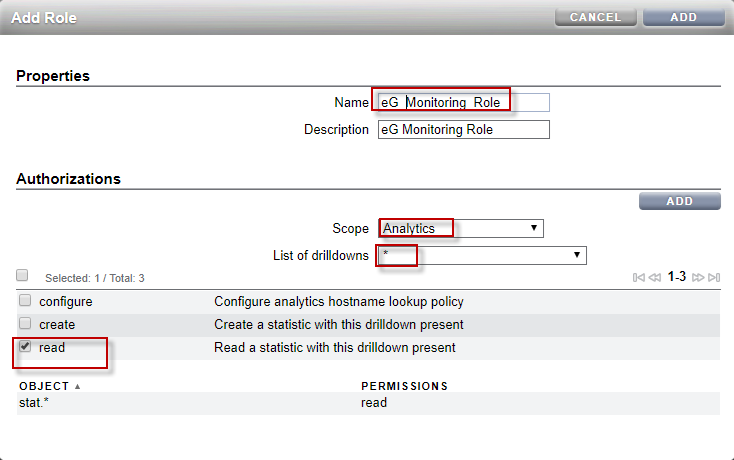
Figure 3 : Assigning the required Authorization and permission
-
Clicking the ADD button on top of Figure 3 will ensure that the role is created successfully. This role that you have created will appear in the Roles list whenever a new user is added.
-
Next, you need to create a new user. For this navigate through the menu sequence: Configuration -> Users in the Oracle ZFS Storage system console. In Figure 4 that appears, click the
button preceding the Users section.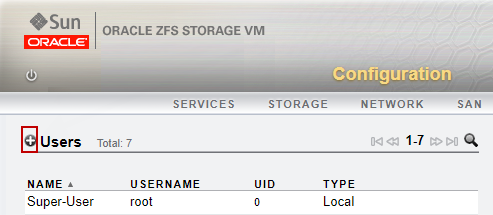
-
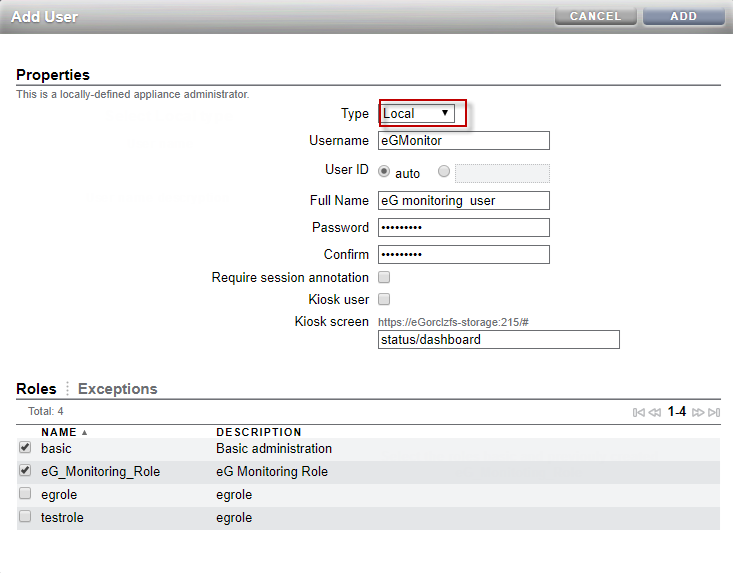
Figure 5 then appears. Here, select Local from the Type list which indicates that the user you are creating is a Local administrator user.
-
Then, specify the credentials of the user that you are creating in the Username, Full Name, Password and Confirm text boxes (see Figure 5).
-
In the Roles section, the basic role will be chosen by default indicating that the Local administrator user is automatically bound to the basic role. In addition to the basic role, select the custom role that you have created in step 4 (see Figure 5). In our example, it is eG_Monitoring_Role.
-
Clicking the ADD button in Figure 5 will ensure that the user is created. Specify the credentials of this user against the Username, Password and Confirm Password text boxes while configuring the tests in the test configuration page.
